
Last updated November 2, 2026
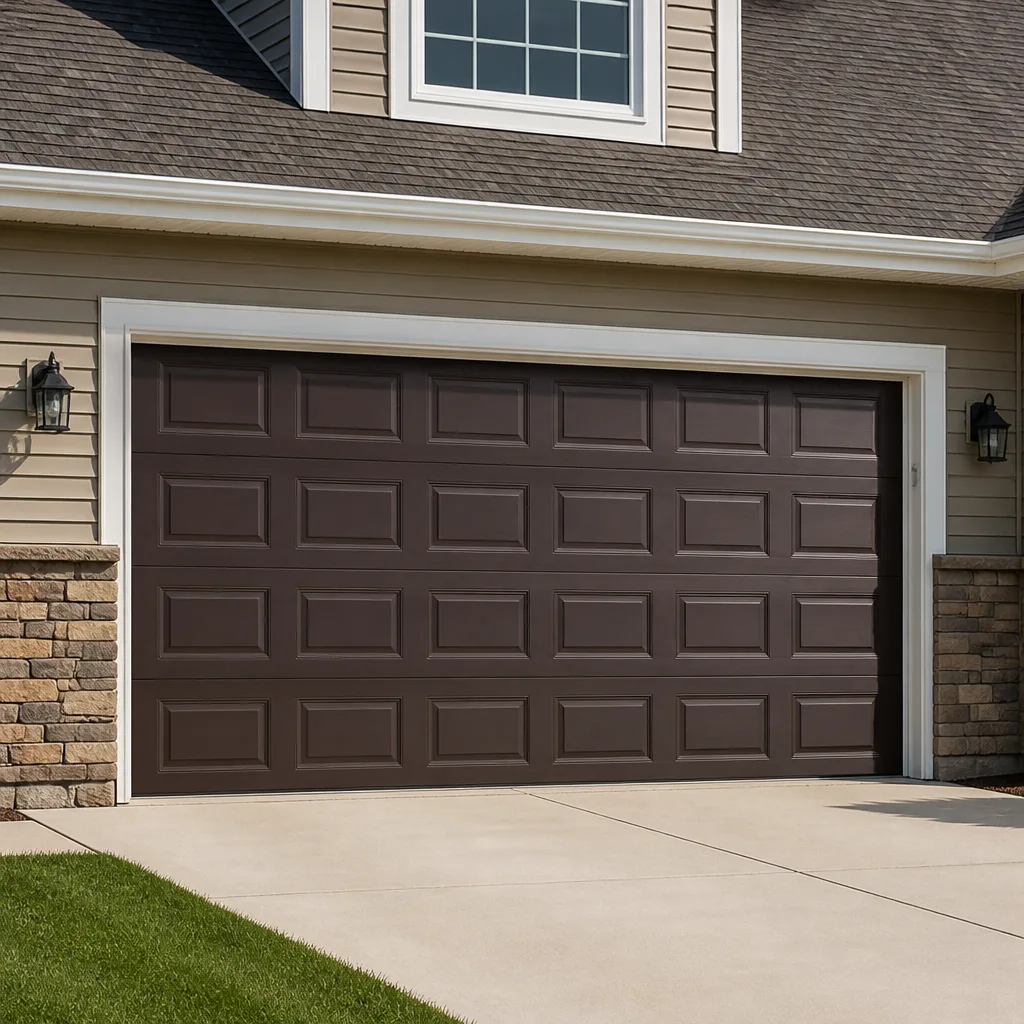 Raised-panel steel
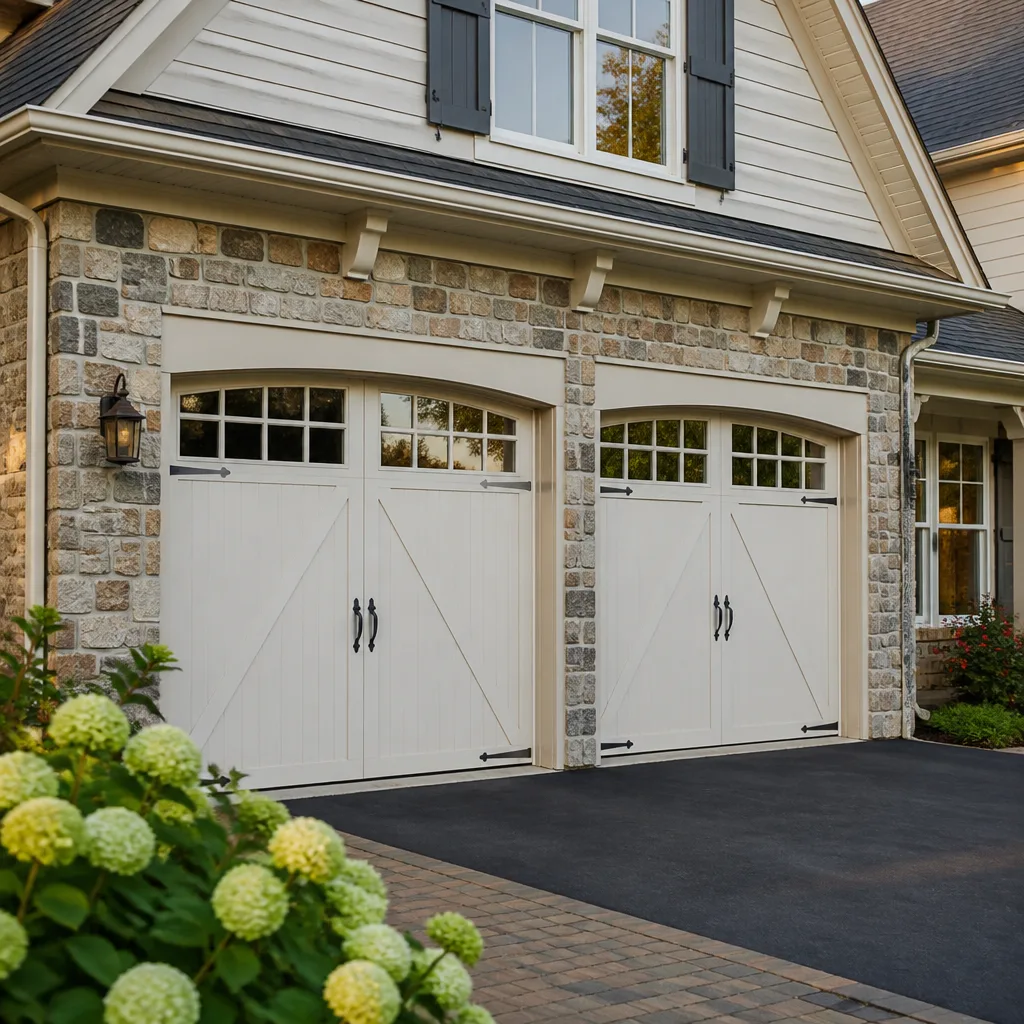 Carriage house
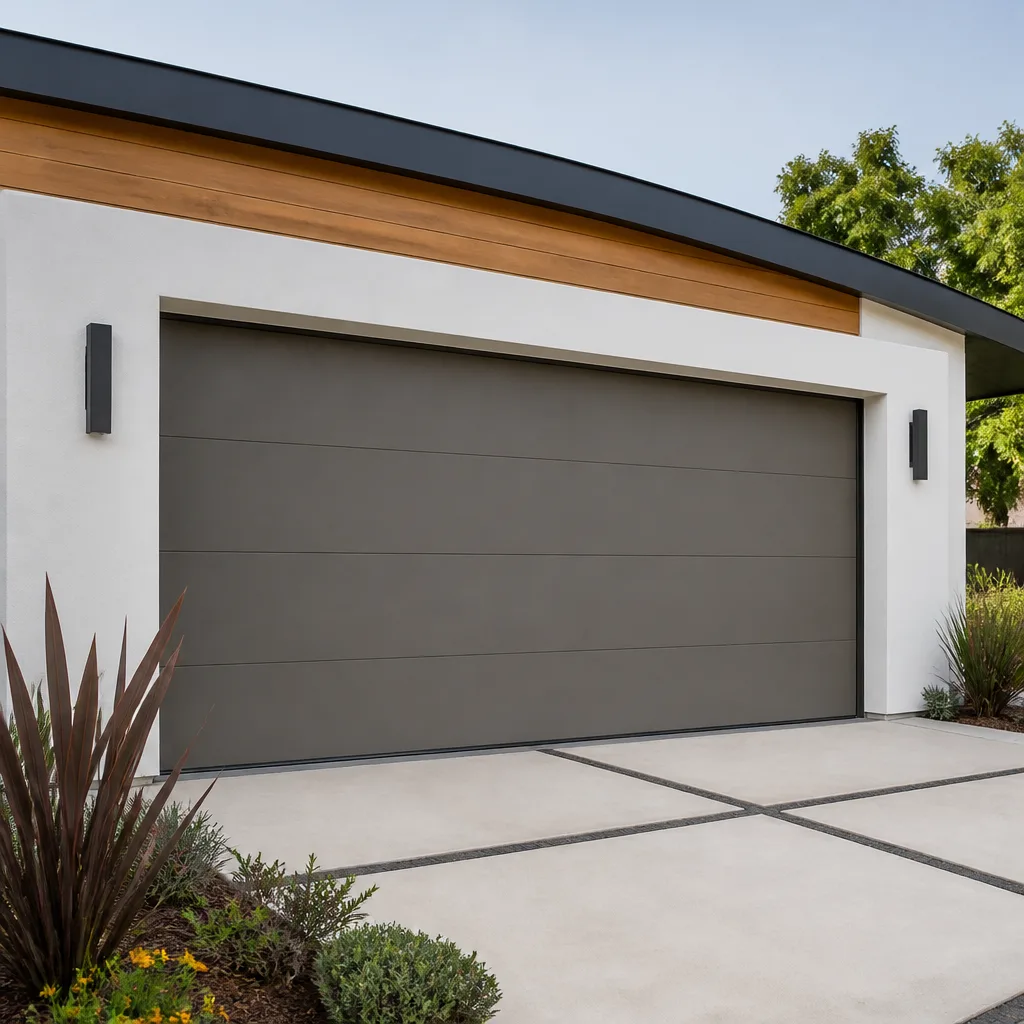 Modern flush
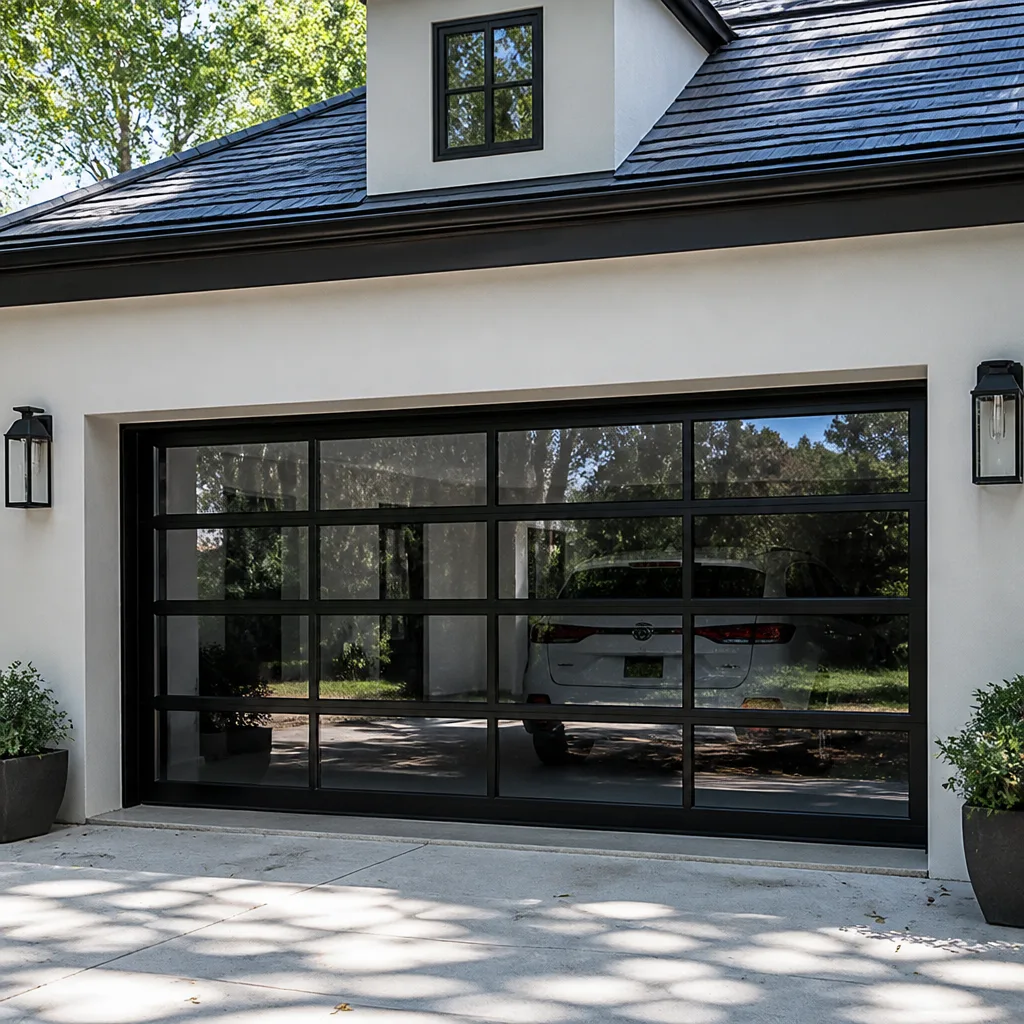 Full-view glass
 LiftMaster openers
 Chamberlain openers
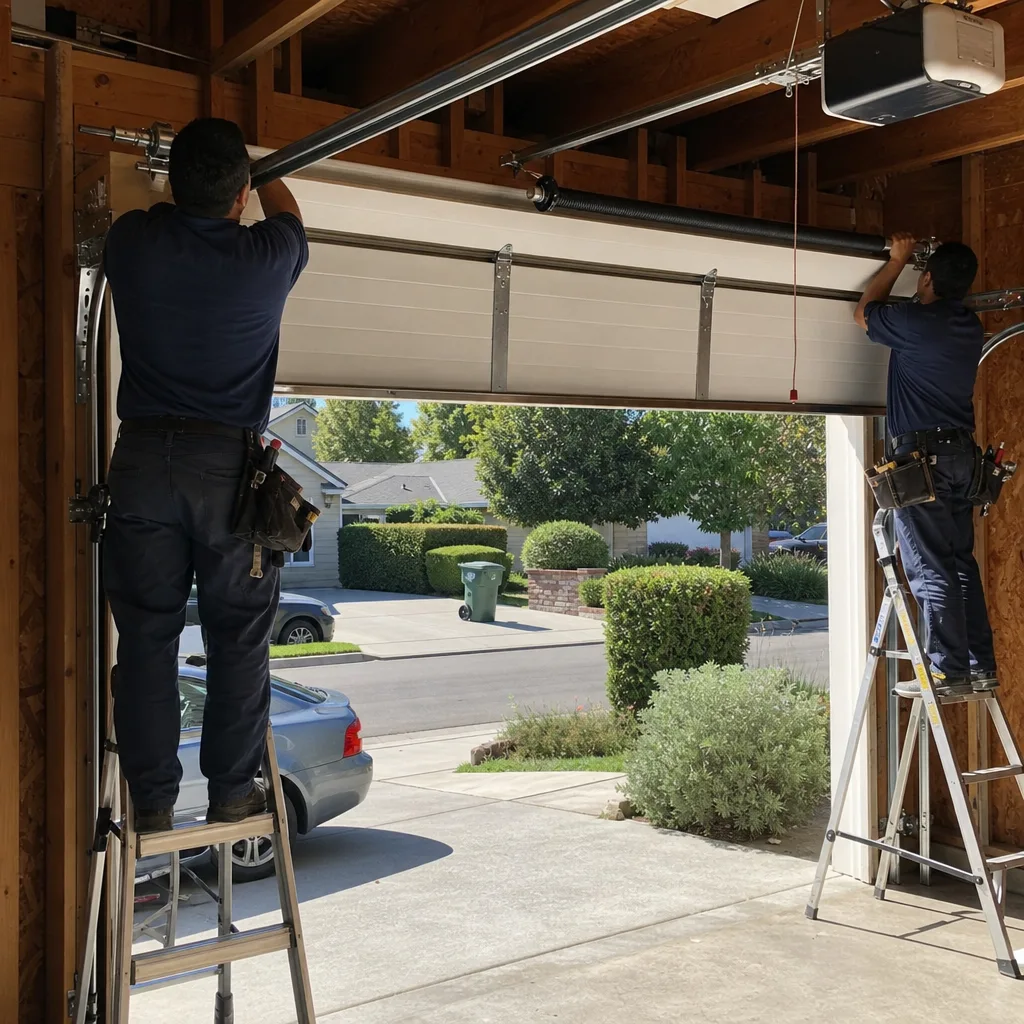
Full 25-point door and opener safety check with every visit - springs, cables, rollers, tracks, and your LiftMaster or Chamberlain opener included
You get a price before we start. It does not change when the truck arrives.
Get your free estimateGarage Door Repair Maintenance Checklist for Folsom Homeowners
Here’s a number that should get your attention: a garage door that’s properly maintained lasts roughly 15 to 30 years, but the torsion springs, rollers, and opener drive systems inside it wear on very different schedules. In Folsom, where summer heat pushes 100 degrees and the dry air strips lubrication faster than coastal climates, that wear accelerates. Most checklists fail because they mix tasks in random order. We’re going to fix that. This guide gives you a sequenced maintenance routine: inspect first, adjust second, lubricate third. You’ll learn which tasks are safe for a Saturday morning and which ones need Garage Door Repair from a technician who works on your specific brand every week.
Styles & brands we work with
- Raised-panel steel
- Carriage house
- Modern flush
- Full-view glass
- LiftMaster openers
- Chamberlain openers
Quick Answer
A garage door maintenance checklist for Folsom homeowners should follow three phases in strict order: inspect all components (springs, cables, rollers, tracks, opener drive), adjust what’s loose or misaligned (sensor alignment, track bolts, opener force settings), and only then lubricate moving parts with the correct product. Skip lubrication until inspection is complete, because grease and spray hide cracks and wear you need to see first. Most homeowners can handle sensor cleaning, track wiping, and visual checks, but spring adjustment and cable replacement require a trained technician. For Garage Door Repair Troubleshooting: Common Problems and How to Fix Them, start with our detailed guide. Run the full checklist twice a year: once in March before the heat builds, and once in October before the cold, wet mornings arrive.
Table of Contents
- Phase One: Inspect First (The 20-Minute Visual and Functional Check)
- Phase Two: Adjust Second (What to Tighten, Align, and Recalibrate)
- Phase Three: Lubricate Third (The Right Products and the Folsom-Specific Mistake)
- Opener-Specific Maintenance That Most Checklists Skip
- How Often to Run This Checklist in Folsom’s Climate
- The Safety Boundary: DIY-Safe vs. Technician-Required Tasks
- What Your Door’s Brand Tells You About Its Maintenance Needs
- Common Mistakes to Avoid
- When to Call a Professional
- Frequently Asked Questions
- The Bottom Line
Phase One: Inspect First (The 20-Minute Visual and Functional Check)
Inspection comes before everything else because you need bare metal, dry springs, and uncoated rollers to see what’s actually happening. The moment you spray lubricant on a suspect component, you’ve hidden the evidence. We’ve walked into Folsom garages where homeowners greased a cracked roller to quiet a noise, only to have that roller shatter two months later because the underlying damage was never addressed. Don’t do that.
Run this inspection with the door closed. Work through the following steps in order.
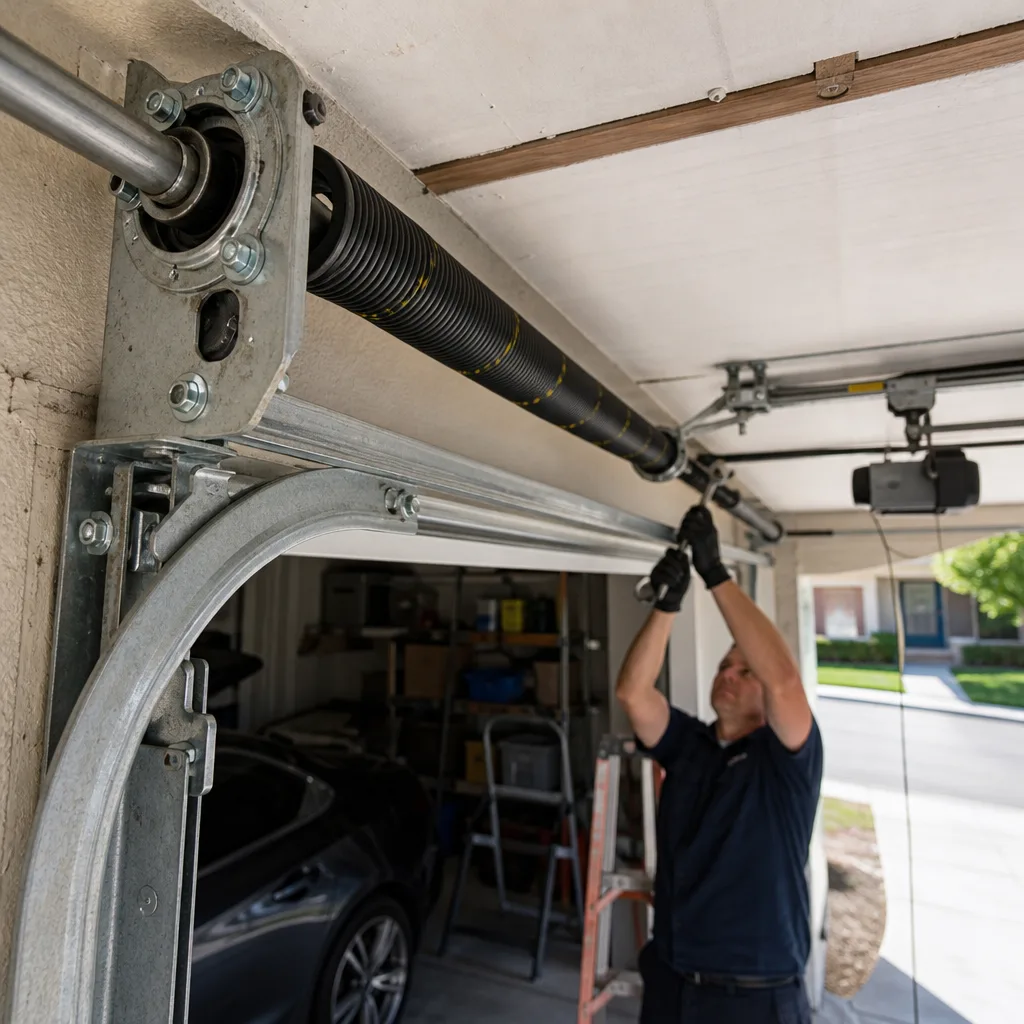
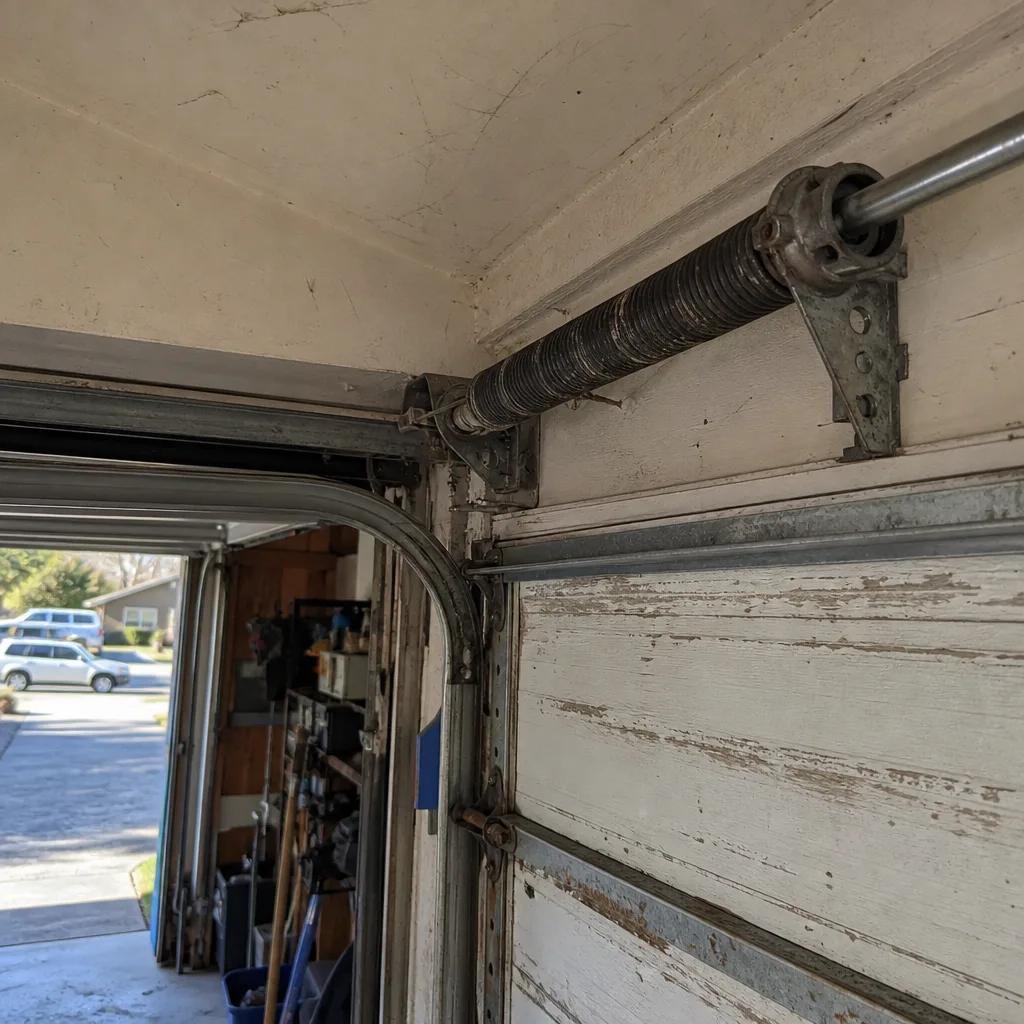
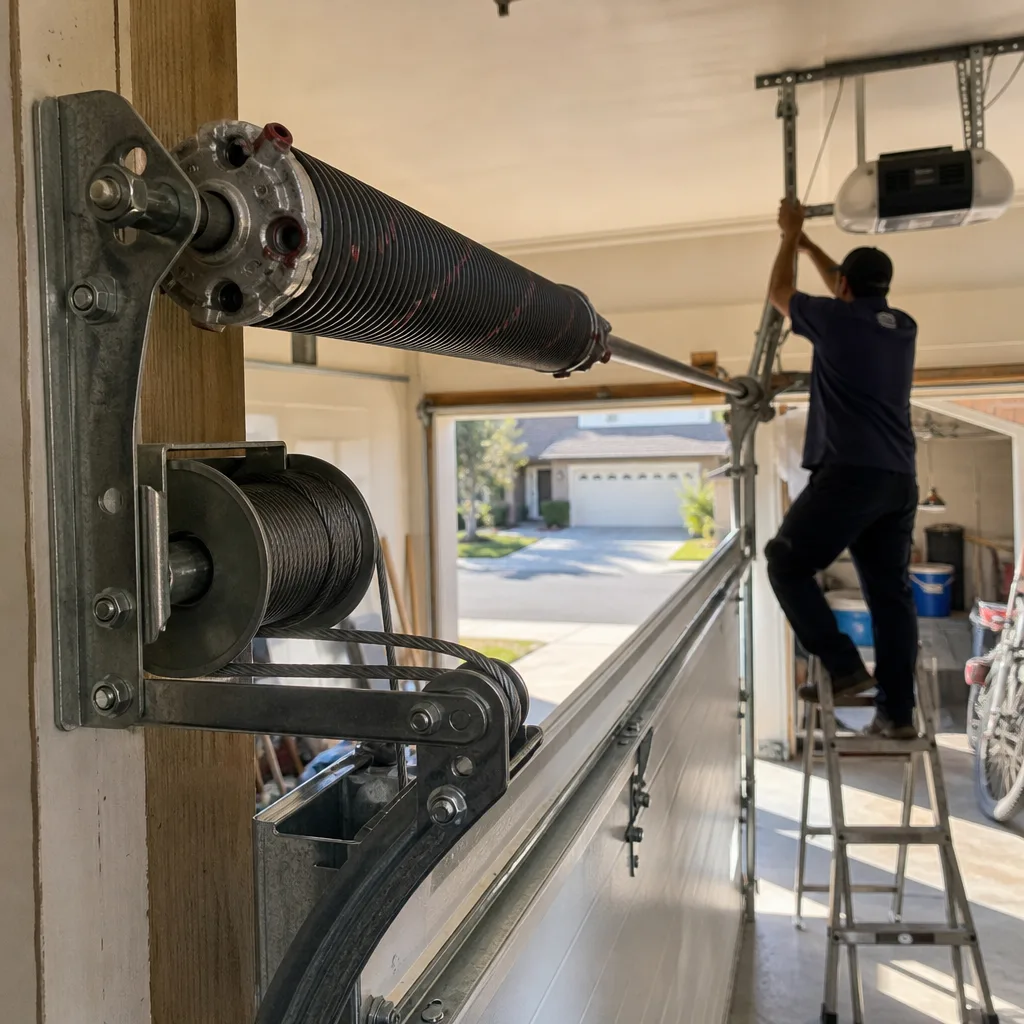
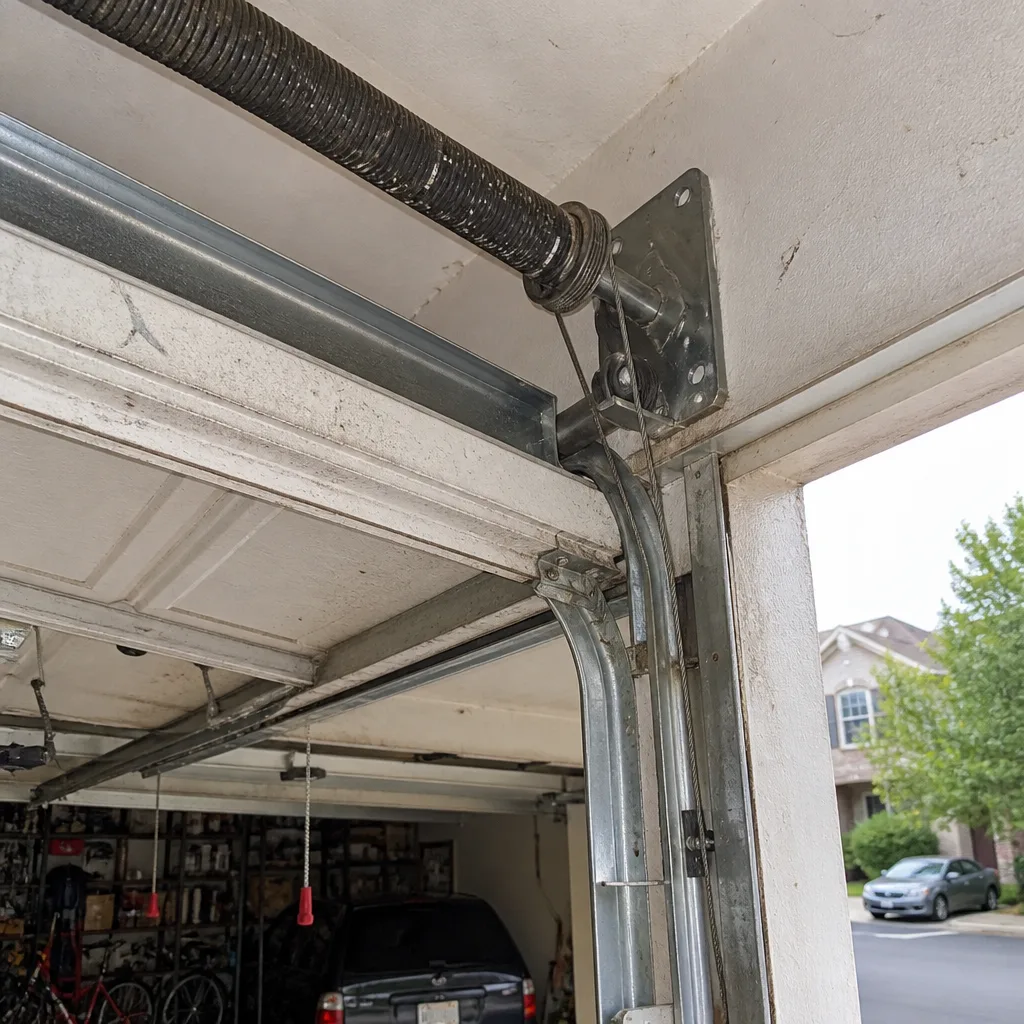
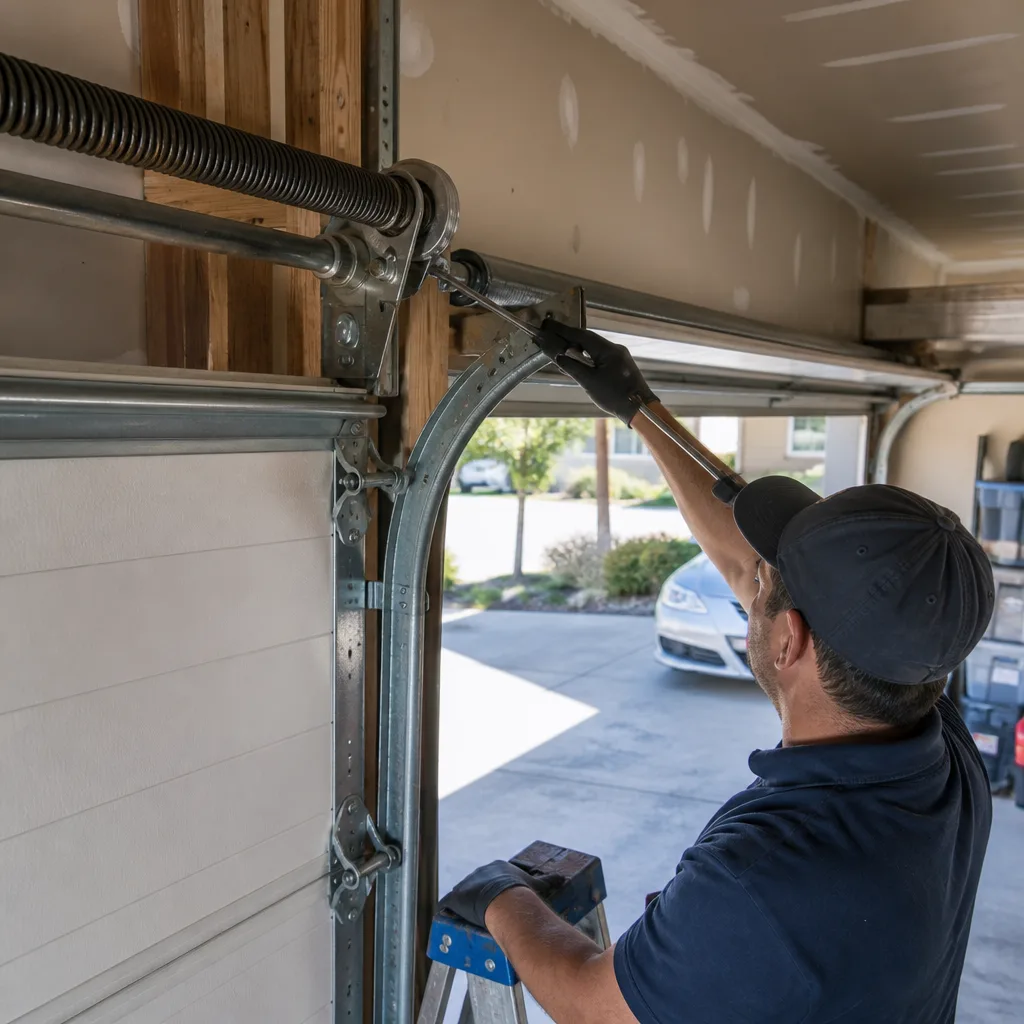
- Look at the torsion springs first. These are the coiled springs mounted horizontally above the closed door. Check for gaps in the coil spacing, rust, or a visible two-inch separation. A broken spring is not a subtle thing. It looks like the spring snaps into two pieces. If you see it, stop the inspection and call for repair. Do not operate the door manually or with the opener.
- Check the lift cables. The cables run along both sides of the door and attach to the bottom brackets. Look for frayed strands, kinks, or rust. A frayed cable under tension can snap without warning, and the door can drop unevenly or completely.
- Examine the rollers. Nylon rollers with exposed bearings, steel rollers, and any roller that’s chipped, cracked, or wobbling in the track are replacement candidates. Folsom’s dry heat causes nylon to become brittle faster than in humid climates, so check for hairline cracks around the bearing housing.
- Scan the track system. Look for bent sections, loose mounting bolts, or gaps between the track and the wall brackets. A track that’s shifted even a quarter inch will cause the door to bind mid-travel.
- Watch and listen to a full open-close cycle. Operate the door and stand to the side, not in the doorway. Listen for grinding, squealing, popping, or rhythmic thumping. A popping sound from the top of the door often means a spring is binding. A rhythmic thump usually indicates a bent roller or a flat spot.
- Test the balance manually. Pull the red emergency release cord, then manually lift the door to waist height and release it. A properly balanced door stays put. If it falls, the springs are worn. If it rises, the springs are over-tensioned. Both conditions strain the opener motor. Note: this test requires you to reconnect the opener afterward by running it until the trolley re-engages.
If everything passes inspection, move to adjustment. If anything fails, make the repair call before doing anything else. A door that’s lubed and quiet but has a failing spring is still a door that will eventually fail catastrophically.
Phase Two: Adjust Second (What to Tighten, Align, and Recalibrate)
Adjustment is the phase most checklists put last or skip entirely, and it’s the phase that prevents the most damage. Loose hardware vibrates. Vibration wears bearings, elongates bolt holes, and creates the play that turns small problems into big ones. These adjustments require basic hand tools and are safe for most homeowners.
Safe Adjustments You Can Do Yourself
- Tighten track bolts and brackets. Use a socket wrench to snug every bolt on the vertical and horizontal tracks. Don’t over-torque; you’re looking for solid contact, not stripped threads. In Folsom, where garage interiors swing from 40 degrees in winter to 110 degrees in summer, metal expands and contracts enough to loosen fasteners that were tight a year ago.
- Align the photo-eye sensors. The sensors sit near the floor on both sides of the door opening. If the small LED light on either sensor is blinking or dark, the beam is misaligned or blocked. Loosen the wing nut, rotate the sensor until both lights are solid, then retighten. Clean the lens with a dry cloth, not a wet wipe.
- Check and reset the opener’s force settings. On LiftMaster and Chamberlain openers, the force adjustment dials or menu settings control how hard the motor pushes before reversing. If you’ve added insulation panels or heavy weatherstripping to your door, the door got heavier and the opener needs a force increase to avoid nuisance reversals. If the door closes too hard, back the force down. Refer to your opener’s manual for the exact procedure.
- Snug the hinge bolts. The hinges that connect door panels work loose over time. A loose hinge lets a panel twist, and a twisted panel binds in the track. Tighten all hinge bolts with a wrench, but don’t use an impact driver.
Adjustments That Require a Technician
Spring tension adjustment is not on the DIY list, and it never should be. Torsion springs hold between 100 and 200 pounds of torque per spring, and the winding bars used to adjust them can slip and strike with enough force to cause serious injury. In California, residential garage door work involving spring adjustment is considered work that’s best left to licensed professionals. If your balance test showed the door drifting up or down, you need a spring adjustment or replacement, not a checklist tweak. The same goes for bending a track back into shape with pliers. A kinked track needs replacement.
Phase Three: Lubricate Third (The Right Products and the Folsom-Specific Mistake)
Now, and only now, do you lubricate. The reason for sequencing lubricant last is simple: you’ve already confirmed that every component is sound, tightened, and aligned. Lubricant on a healthy system reduces friction and wear. Lubricant on a damaged system just delays the repair call and makes the eventual failure louder.
The Folsom-specific mistake we see most often is WD-40 on torsion springs. WD-40 is a solvent and water displacer, not a lubricant for high-load metal-on-metal contact. It strips whatever grease remains and leaves the spring drier than before. In Folsom’s low-humidity air, a stripped spring rusts faster and binds sooner. The same prohibition applies to garage door tracks. Tracks should be cleaned, not lubricated. Greased tracks collect dust, and dust in Folsom is fine, alkaline, and abundant. Greased tracks turn into grinding paste.
What to use instead:
- Torsion springs: White lithium grease or a silicone-based garage door spray applied directly to the coil gaps.
- Rollers: Only if the rollers have exposed ball bearings. Apply a few drops of 3-in-1 oil or a garage door roller-specific oil to each bearing. If the rollers are sealed nylon, skip them; they’re designed to run without lubrication and oil just attracts grit.
- Hinges: White lithium grease on the hinge pins.
- Opener chain or screw drive: For chain drives on LiftMaster and Chamberlain openers, use a chain-specific lubricant or white lithium grease. For screw drives, use lithium grease formulated for screw drives. Genie screw drive openers have a specific grease, so check the manual if you own one.
Apply sparingly. A light coat is enough. Wipe excess with a rag. More lubricant does not mean more protection; it means more dust collection and drips onto your car.
Opener-Specific Maintenance That Most Checklists Skip
This is the section that separates a real garage door maintenance routine from half of one. Most homeowner checklists focus entirely on the door panels, springs, and tracks. The opener is the motorized heart of the system, and a well-maintained door on a neglected opener still fails. We’ve replaced openers in Folsom homes where the door itself was in fine shape; the opener simply hadn’t been touched in 12 years and the internal gear had stripped.
The good news is that opener maintenance is mostly inspection and light cleaning. Here’s what to do during your twice-yearly routine:
- Check the opener’s drive system. For a chain drive, look for slack in the chain. More than a quarter inch of droop means the chain needs tensioning, which is a straightforward adjustment on most LiftMaster and Chamberlain models. For a belt drive, check for fraying or cracking in the belt. For a screw drive, look for dried grease or metal shavings along the rail.
- Clean the opener’s safety sensors. The photo-eyes at the bottom of the door track get dusty in Folsom, especially if you park in a gravel driveway or live near open space. Wipe them with a dry microfiber cloth every maintenance cycle. Don’t use water, which leaves residue that attracts more dust.
- Test the auto-reverse feature. Place a roll of paper towels flat on the floor where the door closes. Close the door. It should reverse within two seconds of contacting the roll. If it doesn’t, stop using the opener and call for repair. This is the single most important safety feature on your garage door system, and it’s mandatory on every opener installed in California since 1993.
- Check the opener’s mounting hardware. The opener hangs from the ceiling on perforated steel straps. Vibration loosens those bolts. Tighten them every maintenance cycle. A loose opener vibrates more, wears its internal gears faster, and transmits noise through the ceiling.
- Replace remote and keypad batteries. Low batteries cause intermittent operation, which many homeowners misdiagnose as a failing opener. Replace the batteries in your remotes and wireless keypad annually, and do it during one of your scheduled maintenance sessions so you never have to think about it mid-year.
If the opener is making a grinding noise that’s coming from inside the motor housing rather than the rail, the internal gear is likely failing. At that point, we repair the opener directly, including the drive system and logic board, rather than swapping the entire unit when a component-level fix is possible.
How Often to Run This Checklist in Folsom’s Climate
Generic advice says “twice a year.” We say twice a year too, but the timing matters. In Folsom, you want to run the full checklist in March and October. Here’s why.
March: Winter cold and the wet season’s elevated moisture have been working on the metal. Then spring brings rapid temperature swings. Run the checklist in March to catch any rust, loosened hardware, or spring fatigue before the door enters the punishing heat of June through September. A door that’s properly lubricated and adjusted in March will survive a Folsom summer far better than one that gets lubed in July as an afterthought.
October: The heat of summer has baked every lubricant and dried every bushing. Run the checklist again in October to replace evaporated lubricant, tighten hardware that summer expansion loosened, and prep the door for the cold mornings when metal contracts and anything brittle becomes more prone to cracking.
Monthly quick check: Between the two full maintenance sessions, do a 60-second monthly check. Stand in the garage and watch the door open and close once. Listen for new noises. Look at the springs. That’s it. If something sounds or looks different, investigate sooner rather than later. In our experience, the doors that fail in Folsom are the ones that went 18 months without anyone looking at them. Watch for Garage Door Warning Signs: A Folsom Homeowner’s Reference Guide to catch issues early.
The Safety Boundary: DIY-Safe vs. Technician-Required Tasks
A maintenance checklist is only useful if it’s honest about the safety boundary. Some tasks are genuinely safe for a homeowner with basic tools and a careful approach. Others involve stored energy, tensioned steel, or electrical wiring that can cause serious injury. Drawing the line clearly protects you and your door.
DIY-Safe Tasks
- Visual inspection of springs, cables, rollers, tracks, and hinges
- Photo-eye sensor cleaning and alignment
- Track bolt and hinge bolt tightening
- Opener force setting adjustment (when done per the manual)
- Auto-reverse feature testing
- Lubrication of springs, hinge pins, and opener drive components
- Remote and keypad battery replacement
Technician-Required Tasks
- Torsion spring adjustment or replacement. Springs under tension store enough energy to break bones or worse. This is not a caution, it’s a hard boundary. A professional uses winding bars, not screwdrivers, and knows the exact number of quarter-turns for your door’s weight and height.
- Cable replacement. Lift cables are under constant tension and run through pulleys that can pinch fingers or snap under load.
- Track realignment or replacement. Bent tracks need specialized tools and an experienced eye to align the entire system correctly.
- Opener internal repair. The capacitor inside an opener motor can retain electrical charge even when unplugged. A shock from a charged capacitor is genuinely dangerous. Leave logic board, capacitor, and motor work to a technician.
- Panel replacement. A cracked or dented panel changes the door’s weight distribution, which affects spring tension and opener load. A panel replacement done wrong creates new problems.
The cost of a professional repair is always going to be less than the medical bill from a DIY spring failure. That’s not a scare tactic; it’s the math.
What Your Door’s Brand Tells You About Its Maintenance Needs
Different manufacturers build doors with different materials and tolerances, and that affects what maintenance looks like. At Garage Door Service Folsom home, our technicians work on eight major brands daily: LiftMaster, Chamberlain, Genie, Clopay, Amarr, Wayne Dalton, Craftsman, and Raynor. That matters because a maintenance checklist that’s generic enough to cover a Raynor and a Clopay is too generic to catch either one’s specific failure points.
Here’s what we learn from working on specific systems:
- LiftMaster and Chamberlain openers (same parent company, same engineering DNA) use a traveling trolley system with either a belt, chain, or screw drive. The most common failure we see in Folsom is a worn drive gear, not a motor failure. Maintenance for these openers should focus on the drive gear and the trolley, not just the external chain or belt.
- Genie openers, especially screw drive models, have a carriage that rides directly on the rotating screw. These need more attentive lubrication than chain or belt drives, and the lubricant must be compatible with the screw material. A dry Genie screw drive will strip its own carriage in a season of Folsom heat.
- Raynor doors, which are less common in Folsom but present in enough garages to matter, often use torsion spring systems with different winding specs than the more common Clopay or Amarr doors. Maintenance on a Raynor should flag any spring that’s lost its paint marking indicating spring size, since that marking is how a technician knows the proper replacement.
When you schedule a maintenance visit with us, the technician already knows your door’s brand and model before arriving. That’s the difference between a generic checklist walkthrough and a diagnostic that catches the specific failure your door is prone to.
Common Mistakes to Avoid
- Spraying WD-40 on torsion springs. This is the single most common mistake we see in Folsom garages. WD-40 displaces moisture and strips grease. Torsion springs need grease, not solvent. Use white lithium grease instead.
- Lubricating the tracks. Garage door tracks are designed to run dry. Grease or oil in the tracks collects dust and causes the rollers to bind. Clean tracks with a dry rag only.
- Running the full maintenance checklist once every few years. Folsom’s summer heat is hard on lubricant and hardware. A door that goes 24 months between checkups will develop problems that a March-and-October routine would have caught. Remember, there are options like Garage Door Repair in Folsom if you’d rather have us handle the full inspection.
- Skipping the balance test. Most homeowners check the opener and call it maintenance. The balance test catches worn springs before they break, and it’s the difference between a planned repair and an emergency call on a 105-degree day.
- Attempting spring adjustment with improvised tools. Screwdrivers, pry bars, and socket extensions are not winding bars. A garage door spring under tension is not a part to improvise around. This is the one mistake on this list that can change your life.
- Ignoring opener noises because the door still works. A grinding noise from the opener motor housing is the sound of a gear stripping. By the time the door stops moving, the repair is more complicated and more expensive than if you’d called when the noise started.
- Replacing the opener when only the drive gear failed. Many homeowners assume a dead opener means a full replacement. In a lot of cases, we repair the opener’s drive system or logic board for significantly less than a new unit. If your opener is a LiftMaster or Chamberlain, a drive gear replacement is a common, economical repair that restores years of service life.
When to Call a Professional
Some maintenance findings are signals to stop and call a technician, not to push through the rest of the checklist. If your inspection showed a broken or gap-toothed torsion spring, a frayed lift cable, a door that fails the balance test, or an opener that grinds from the motor housing, those are repair conditions, not maintenance items. Continuing to run the door risks further damage to the opener, the door panels, and potentially your car or a family member. If the opener’s auto-reverse test failed, stop using the opener immediately. If the door came off its track or one side is visibly higher than the other, don’t operate it manually either.
For Folsom homeowners, the fastest path from a broken door back to a working one is a call to us for garage door opener repair in Folsom. Our team works on the door and the opener in a single visit, which means you’re not calling one company for the spring and another for the motor. Garage Door Service Folsom offers free estimates in Folsom – call (877) 318-4983.
Frequently Asked Questions
A professional maintenance visit for a garage door in Folsom typically ranges from $75 to $150, depending on whether it’s a tune-up inspection or a full lubrication and adjustment service. The price is quoted and agreed before any work starts, so you’ll always know the number ahead of time. If the maintenance uncovers a repair need, that repair gets its own quote. Call (877) 318-4983 for a free estimate on a maintenance visit – estimates are free.
No. WD-40 is a solvent and water displacer, not a lubricant for high-tension torsion springs. It strips grease and leaves springs drier than before, which accelerates wear, especially in Folsom’s dry climate. Use white lithium grease or a silicone-based garage door spray on springs instead.
Run this full maintenance checklist twice a year, once in March and once in October. Folsom’s hot, dry summers and cold winter mornings stress metal and lubricant differently, so scheduling maintenance before each seasonal extreme gives the door the best protection. Between the twice-yearly checks, do a 60-second visual and auditory check monthly.
A properly sequenced checklist includes three phases: first, inspect the springs, cables, rollers, tracks, and opener drive; second, tighten loose hardware, align sensors, and adjust opener force settings; third, lubricate the torsion springs, hinge pins, and opener drive components with the correct product. Opener-specific maintenance, including auto-reverse testing and drive system inspection, should be included in every cycle.
Most inspection, sensor cleaning, light bolt-tightening, and lubrication tasks are safe for a careful homeowner with basic tools. Spring adjustment, cable replacement, track realignment, and opener internal repair are not DIY tasks. Those involve stored energy, electrical charge, or tensioned steel that can cause serious injury. Call a professional for any task in the technician-required category.
If the door fails the balance test (it drops when released at waist height), the springs are worn. If you see a visible gap in the spring’s coil spacing, that spring is broken and needs replacement immediately. Springs typically last 7 to 12 years in Folsom’s climate, and a broken spring is not something to diagnose further; it’s a call for repair. Contact us at (877) 318-4983 and we’ll give you an exact quote.
The Bottom Line
A garage door maintenance checklist works when you follow the sequence: inspect, adjust, lubricate. Skip the order and you’ll hide problems with grease, tighten hardware that’s actually misaligned, or lubricate a spring that needed replacement. Run the full routine twice a year in Folsom, in March and October, with a 60-second monthly check in between. Know the safety boundary: springs, cables, and opener internals are technician territory. And if the inspection uncovers a problem, don’t let it sit. For Garage Door Installation in Folsom, repair, or opener work, our team is a phone call away.
Written by the team at Garage Door Service Folsom, serving Folsom since 2016. Explore more guides & resources on our blog.
See the difference
 Before
 After
 Before
 After
 Before
 After